- Knowledge Centre
- Gensolve Enterprise Manager
- The Workspace
-
Gensolve Enterprise Manager
- Accounting
- Administration
- Videos
- Appointments
- Banking & daily takings
- Billing & payments
- Clients
- Clinicians
- Conditions & medical notes
- Front office
- Gensolve API
- Healthlink
- Internet connection
- Letters & Templates
- Products
- Reports
- Troubleshooting
- Working with files
- Web portal
- Custom forms
- HICAPS
- Installation & troubleshooting
- Medicare
- Online payment
- Telehealth
- Third party integration
- Tyro
- Workcover
- The Workspace
- Managing Conditions
- Using the Support Centre & Accessing Information
- Setting up your Organisation
- Payments
- managing and billing
- Main Form
- Banking and receipts
- Business
- Debtors and Creditors
- Payroll
- GPM Web Booking Portal
- processes
- Sending Emails From GPM
- Hints & Tips
- GPM Start-Up Training
- ACC
- Contract
- Built-In Reports
- GPM_Light
-
Gensolve Practice Manager
-
Release Notes
-
Gensolve Audio Enterprise Manager
Main Menu
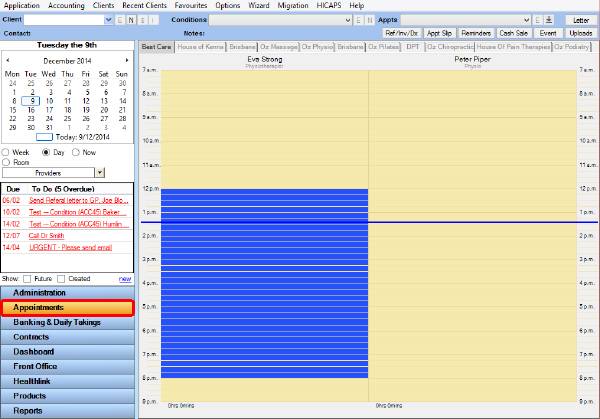
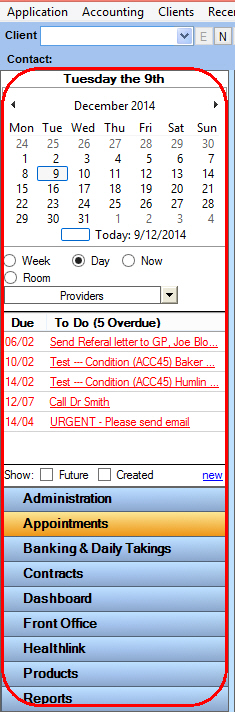
The main menu or navigation menu (on the left hand side) controls what information is shown in the main area of Gensolve Practice Manager (on the right hand side).
When logging into Gensolve Practice Manager, the default menu is the Appointments menu which shows the Calendar and the To Do list above.
Selecting the Appointments menu will display the Appointment Book on the right hand side.
Note: The list of items you see in the main menu will depend on your access level.
Select a different menu to view the options related to that menu.
For example, selecting the Front Office menu will display the menu options as shown below.
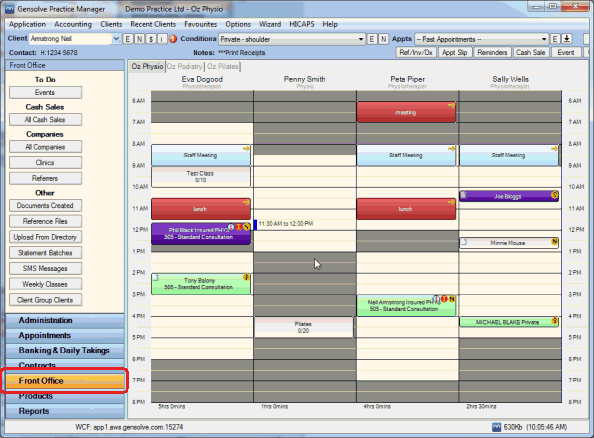
Select one of the menu options to view the details in the main screen.
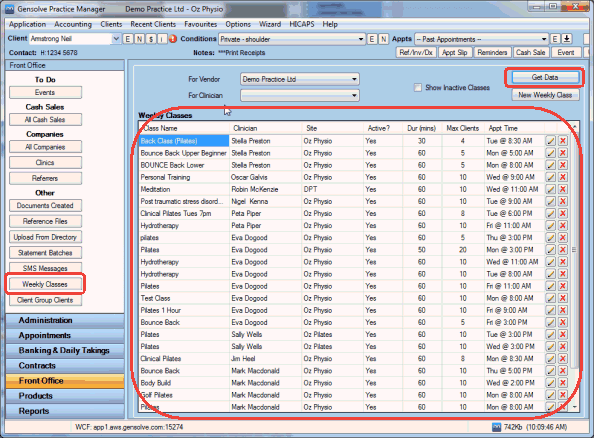
Below we have selected the Weekly Classes button from the Front Office menu.
Click Get Data to display the Weekly Classes information in the right hand window.
Select the Appointments menu to return to the default view of the Appointment Book.