Follow the process to learn how to track appointments booked on the Clinic portal as Google Analytics Conversions/Goals.
Note: A Google Analytics account and a previously configured GPM Clinic Portal are needed.
Set Up your Google Analytics property
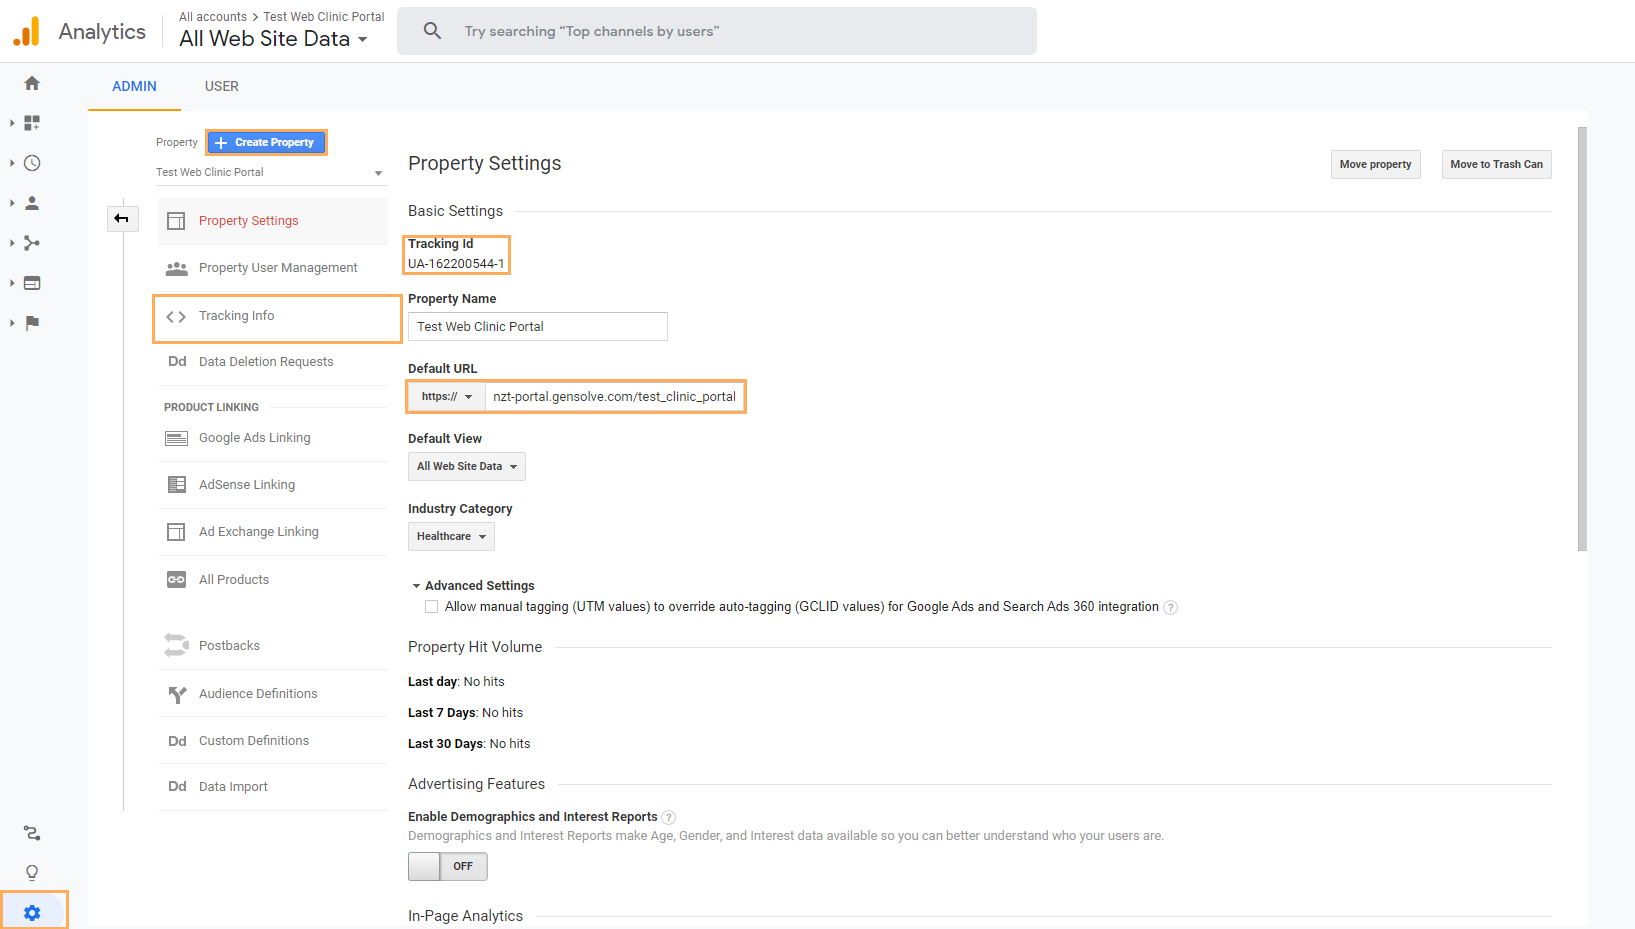
1. On your Google Analytics Account, go to Administration (gear icon) and create a new Web Property. Enter the Clinic Portal URL and fill the rest of the information. After that, by viewing the Property Settings or its Tracking Info, you should be able to get its Tracking Id.
2. Now, on GPM Windows go to Administration >> Web Portal and on the Google Analytics Code field enter the Tracking Id of the recently created property >> Save Changes.
![]()
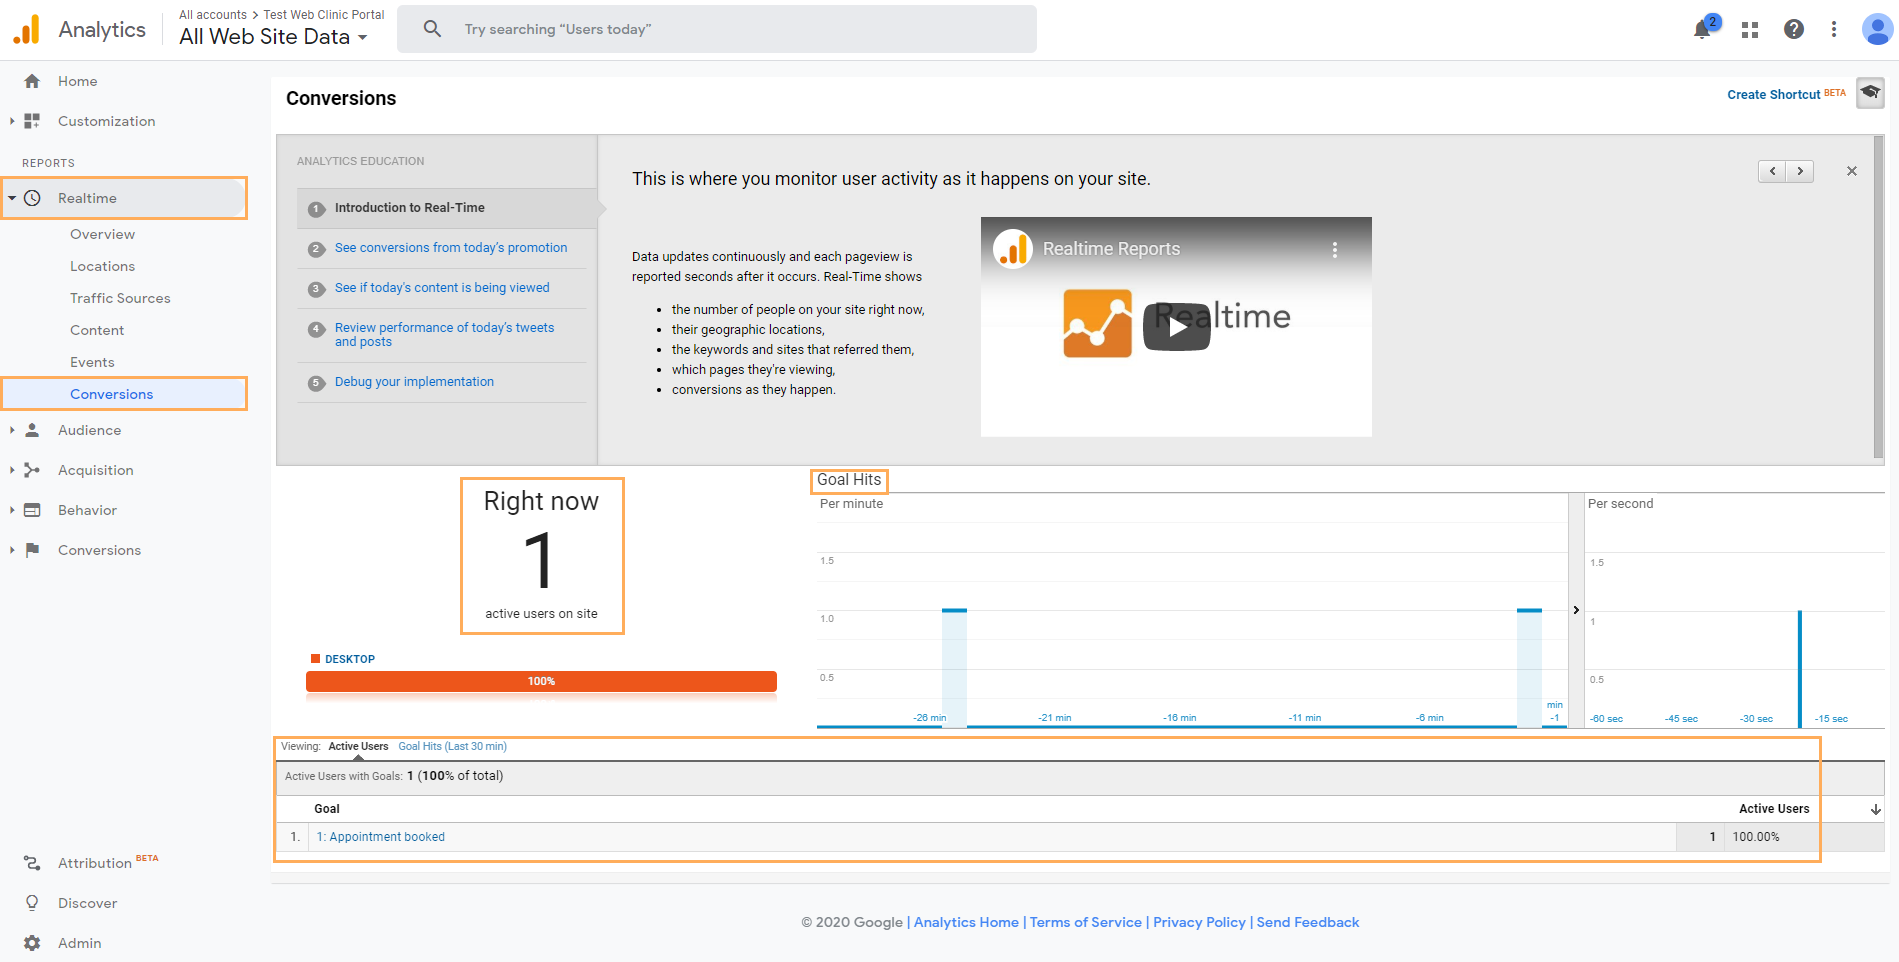
Note: If the process was done correctly, after a couple of minutes on the Google Analytics home you should be able to see Active Users in real time.
Identify the booking process on the Clinic Portal
This topic takes a Conversion as a completed appointment booking process and thus, is explanation is based on the booking-flow on the Clinic Portal as a Conversion Funnel.
1. Navigate to the Clinic Portal >> Select a Site >> Select a Clinician >> Pick a date (or leave as it is for today's date) >> Click on Find a Clinician
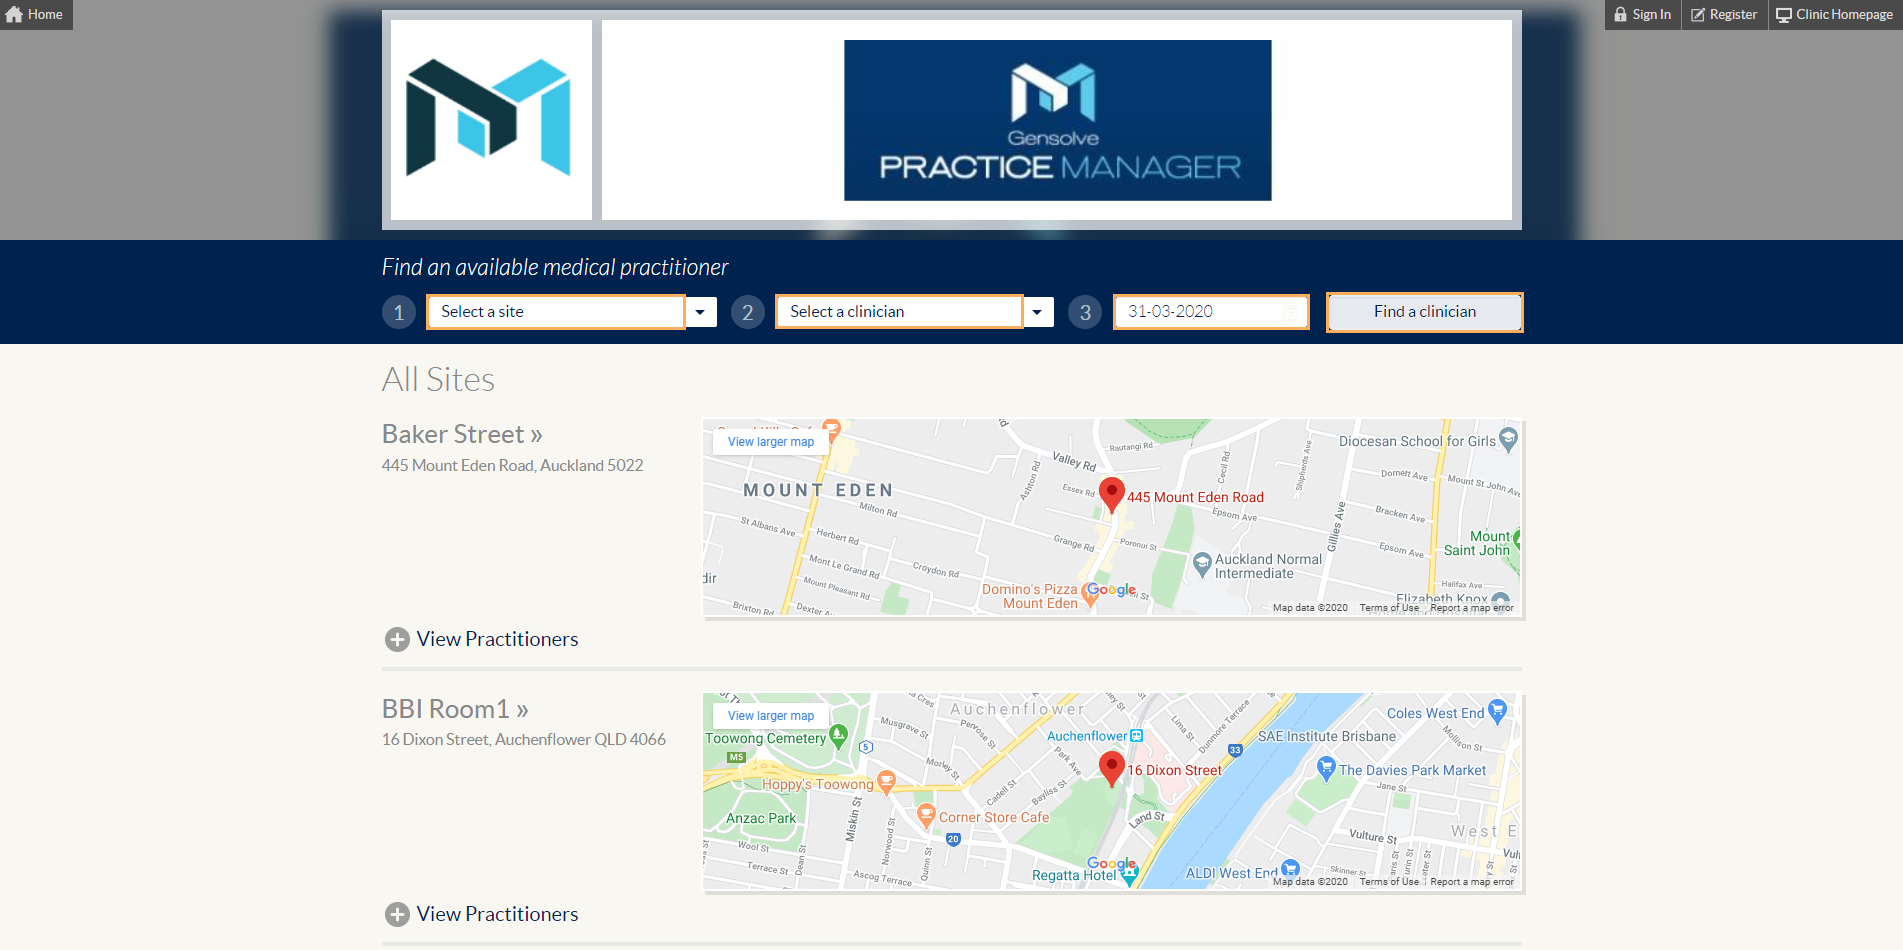
Note: This booking-flow considers starting by looking for a clinician and an available date and time without Signing Up or Login In first.
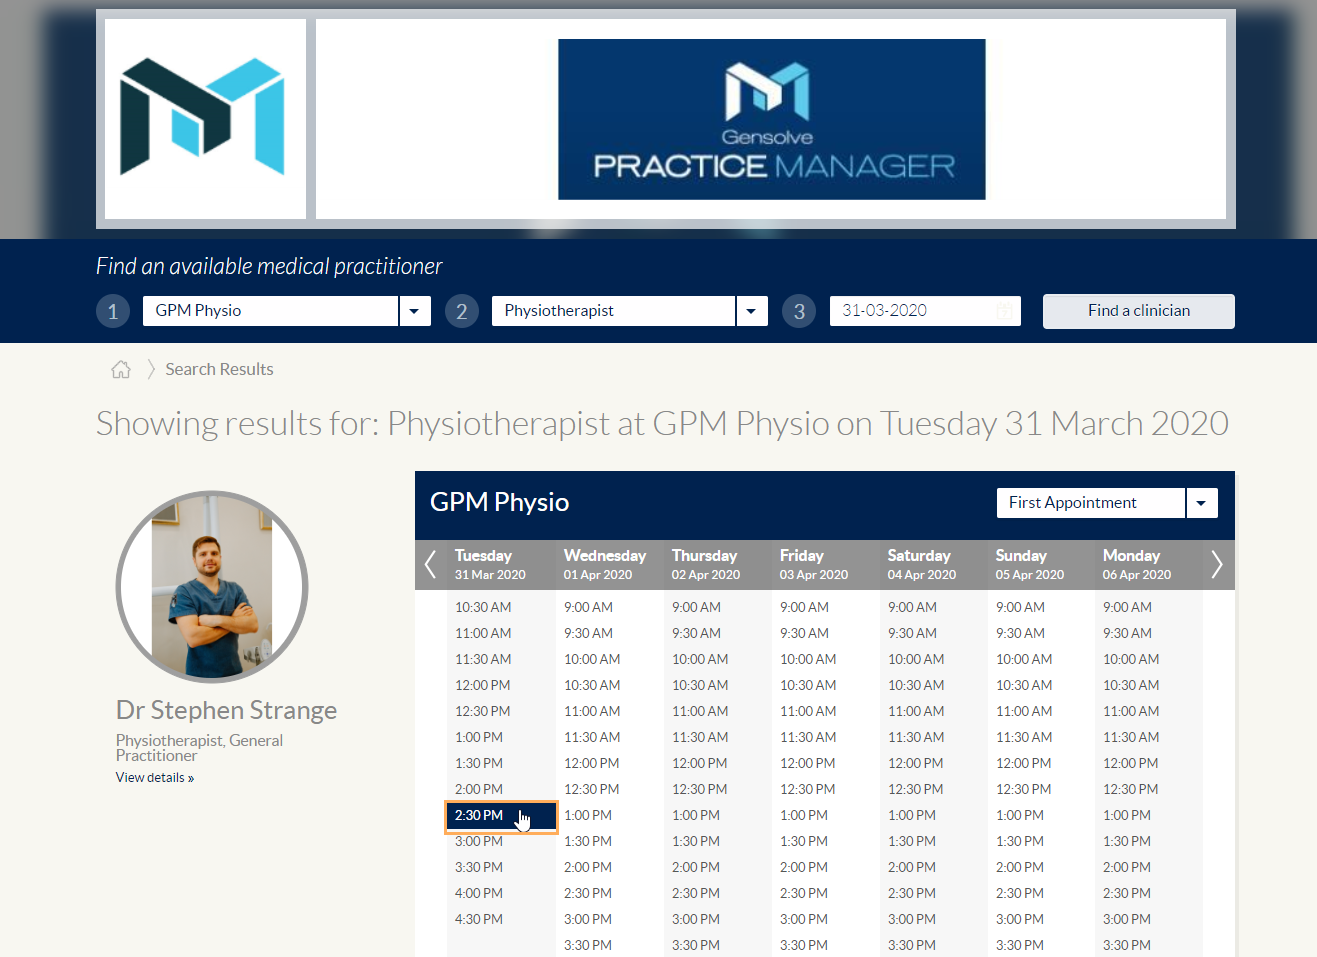
2. Then, the user should look for its preferred clinician and select and an appropriate date and time for them >> By clicking on the desired time the user should be prompted to Sign Up/Log In.
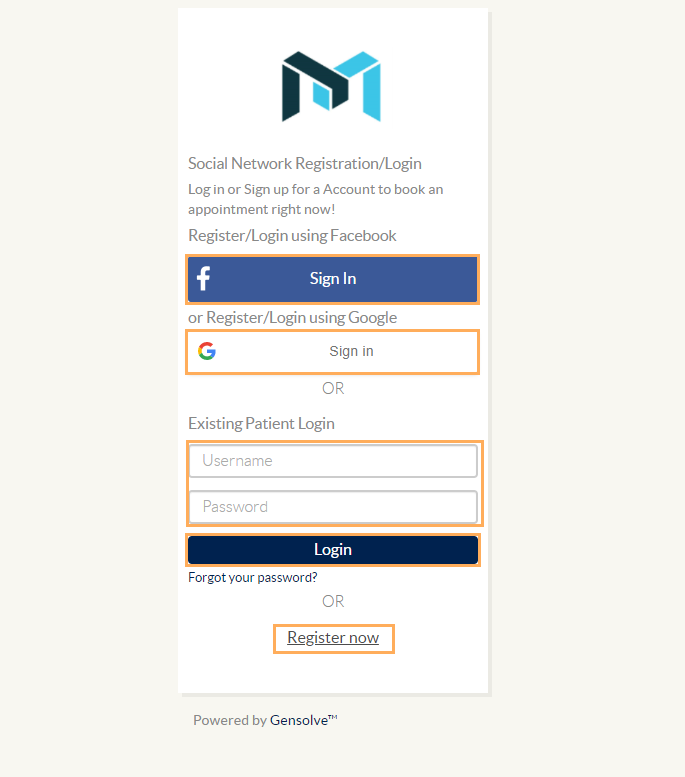
3. Enter Log In credentials, or Sign Up via Google, Facebook or create a user on the Register Now link on the bottom.
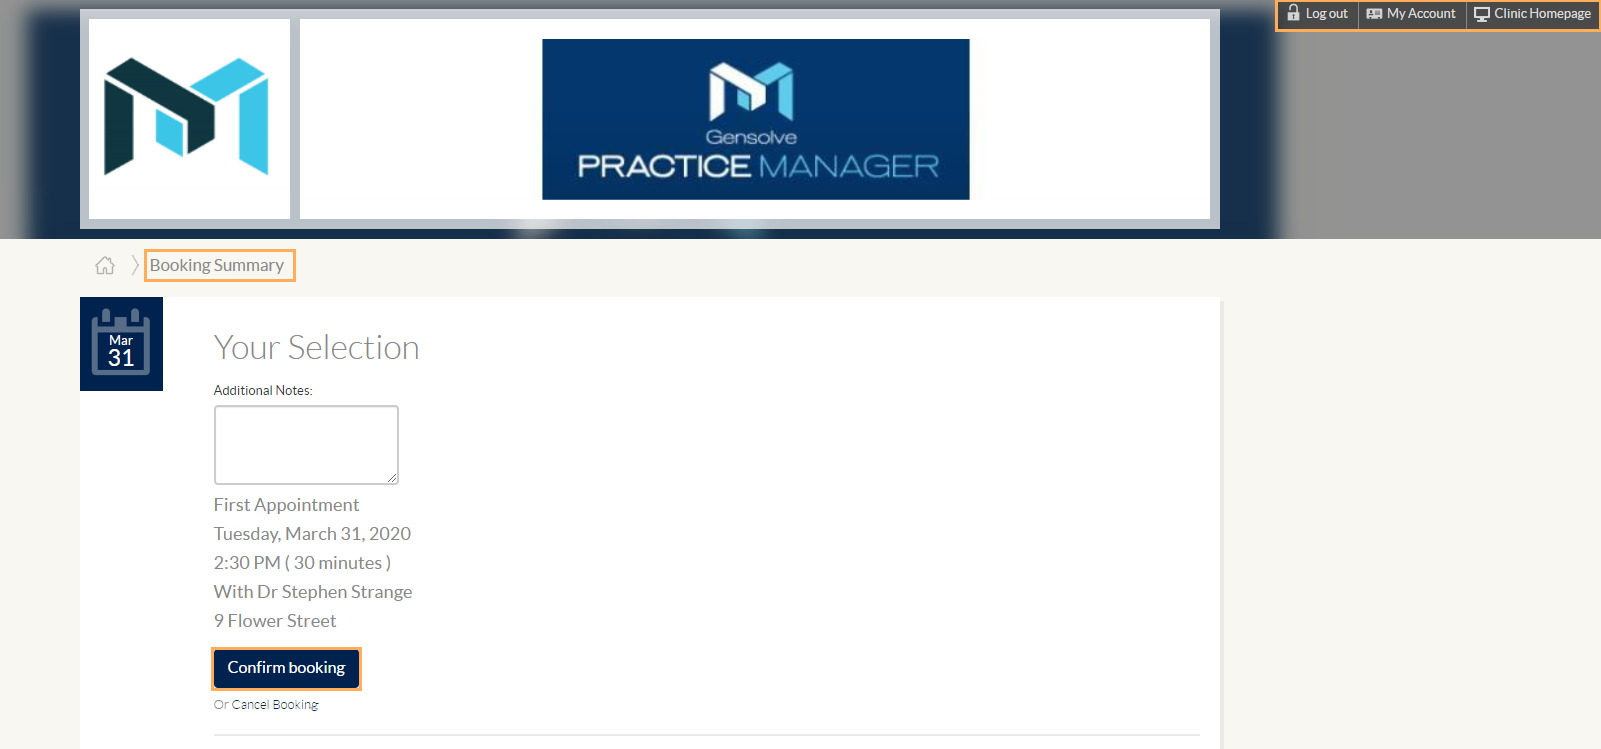
4. After having successfully Logged In or Signed Up, user is redirected to the Booking Summary page so they can confirm the appointment information and proceed to finish the booking process.
Note: each one of the previous pages has a unique URL that can be used to create or define different goals on Google Analytics.
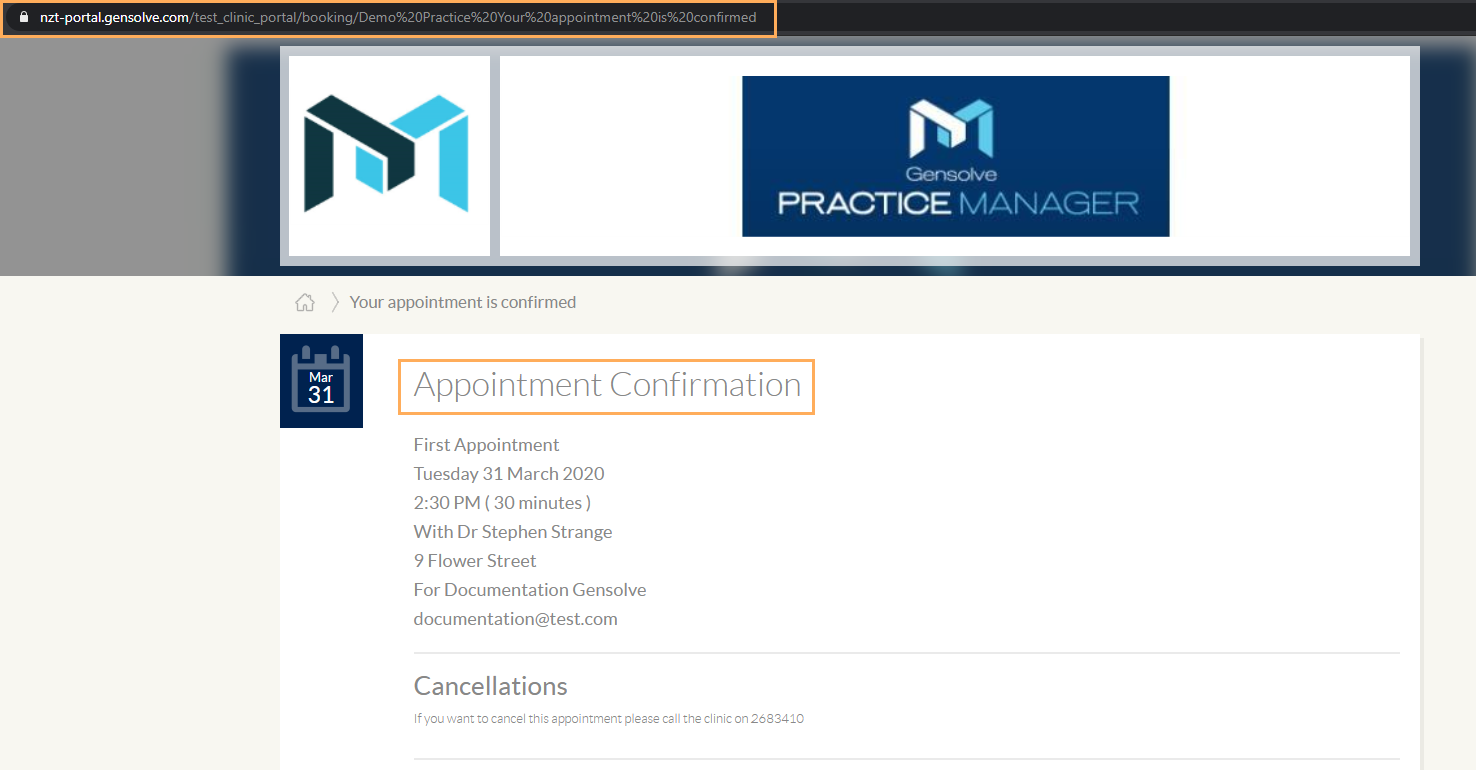
5. Finally, user lands on the Appointment Confirmation page. This is the URL that we are going to use to create the Google Analytics Goal.
6. In order to be completely sure about how Google Analytics sees this page, remain on the Appointment Confirmation page and go to Google Analytics. On its Home, you should be able to see an active user on the confirmation page, on the left menu click on Real Time >> Content >> From here, confirm the URL where the user landed after booking the appointment (e.g. /test_clinic_portal/booking/Demo Practice Your appointment is confirmed).
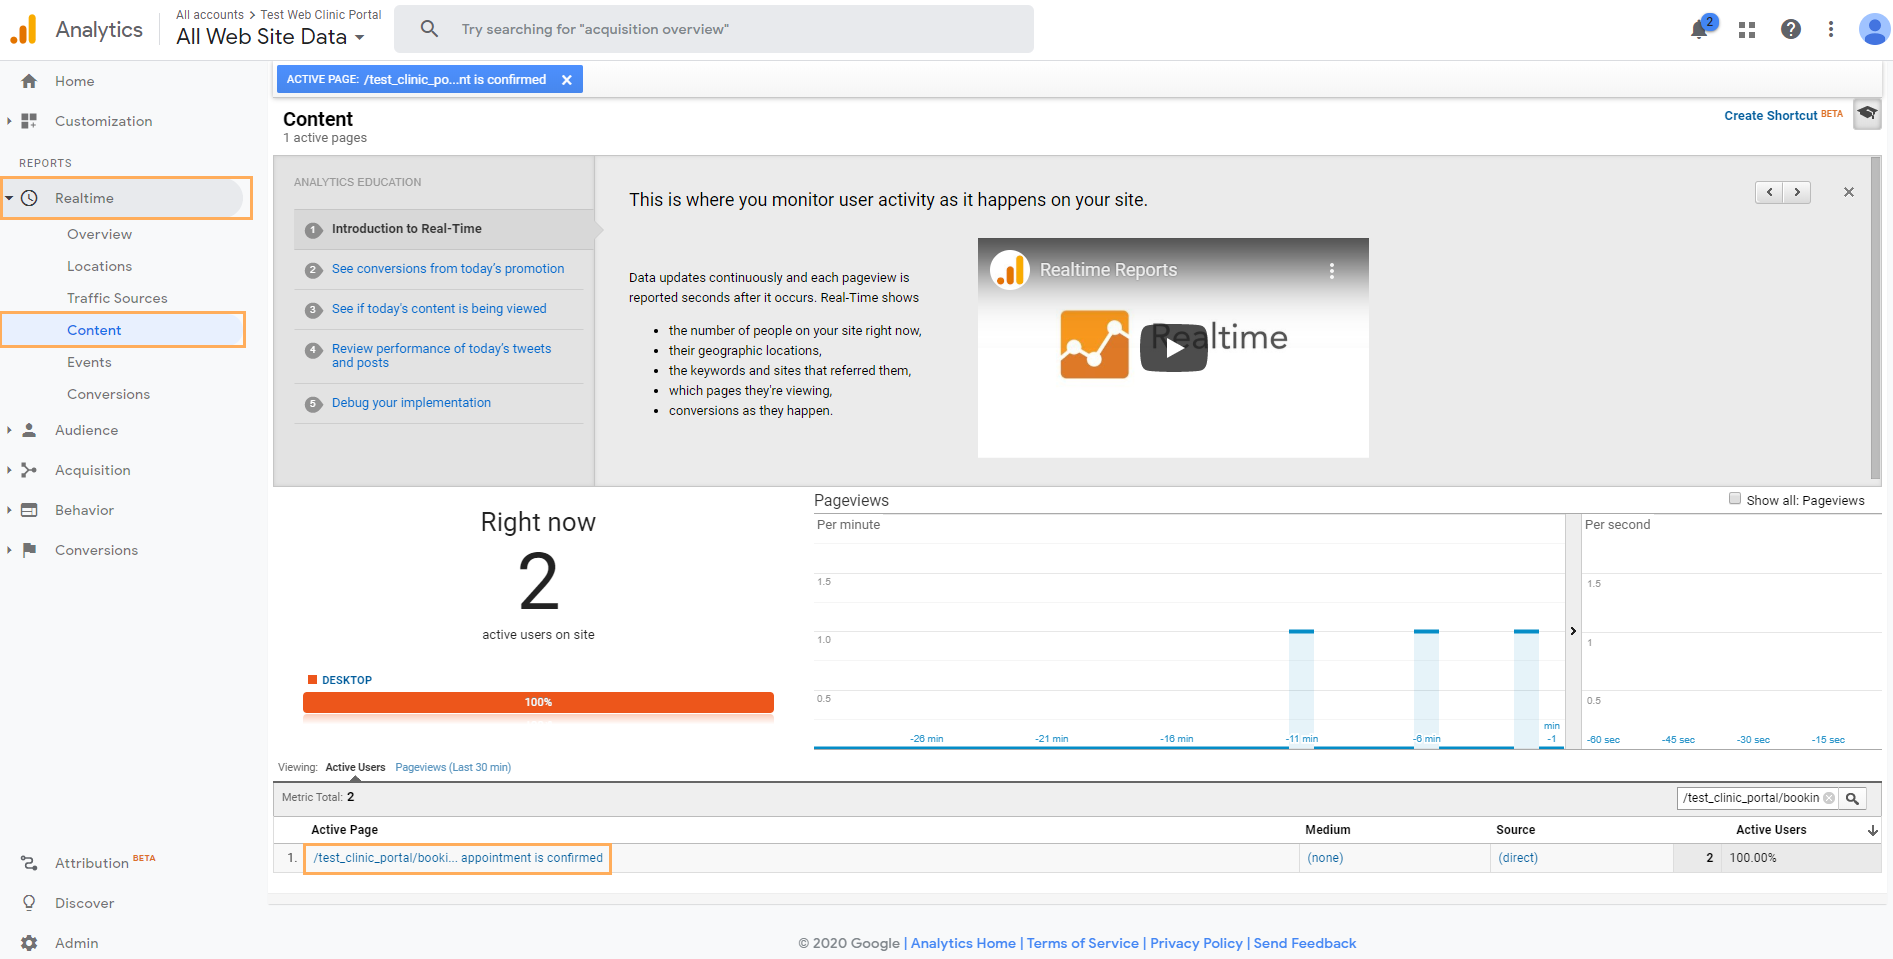
Note: The complete URL is not needed, just the portion that provides the information of the specific page.
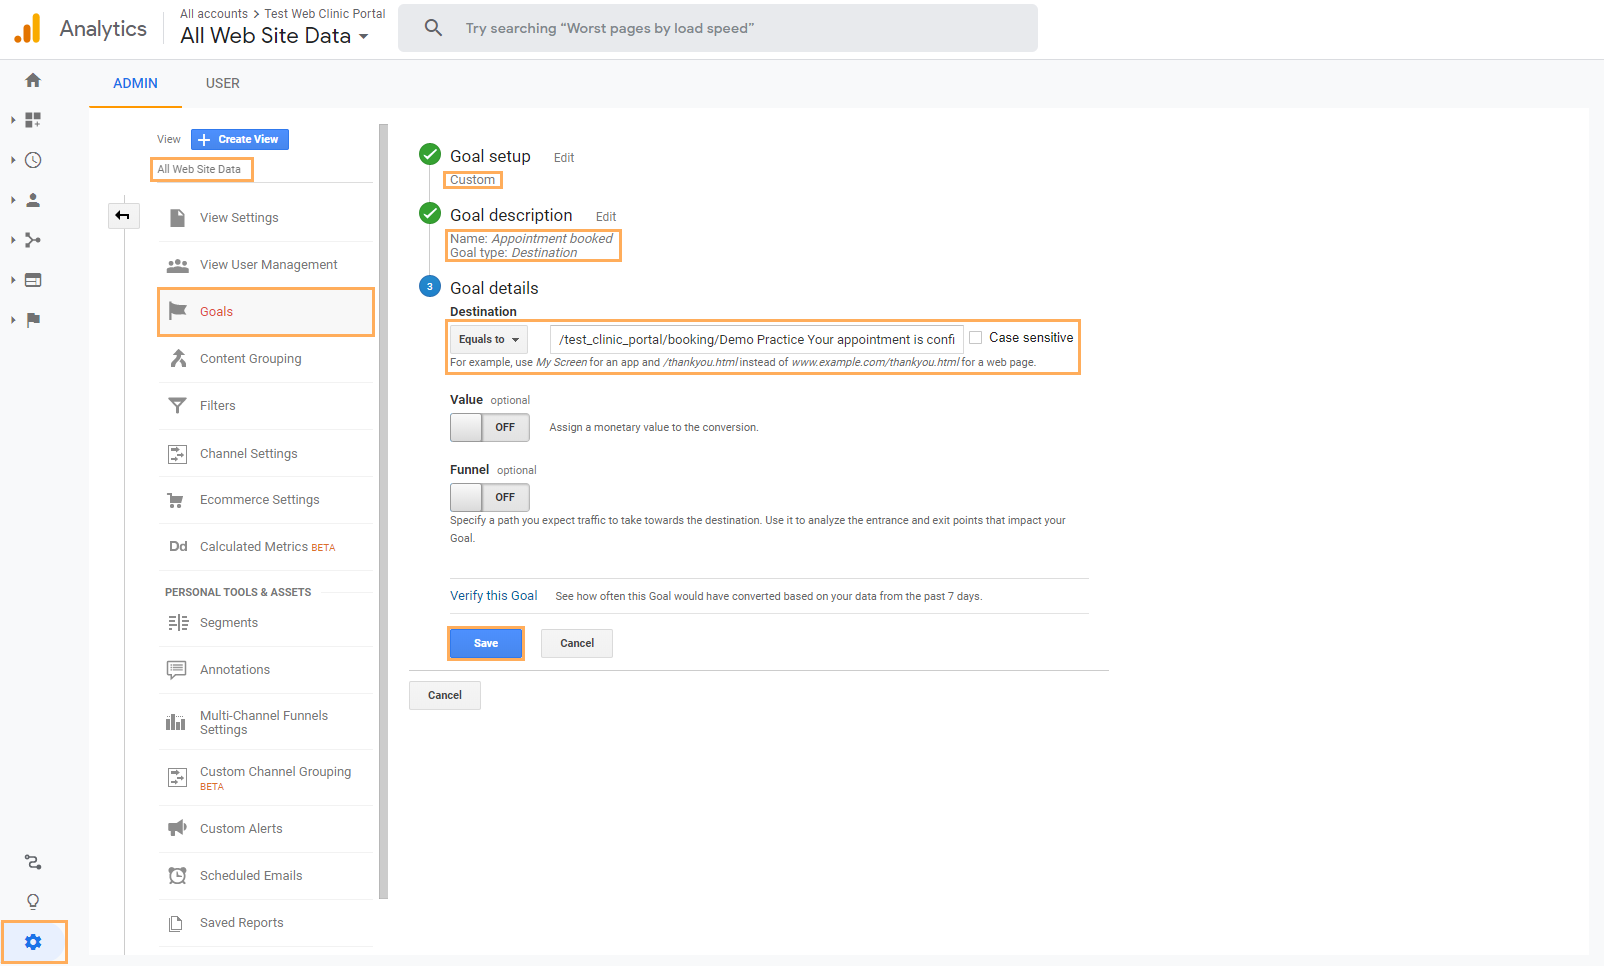
Creating a Goal on Google Analytics
1. On your Google Analytics account, go to Administration (gear icon). Under the All Web Site Data column, click on Goals >> Click on the +New Goal button >> On Goal Set Up, for Template select Custom >> On Goal Description, specify a name (e.g. Appointment booked), for Type select Destination >> On Goal Details, on the Destination field enter the Appointment confirmation page URL and click on Save.
Note: If you want you can assign a monetary Value to a goal and also make it part of a Funnel on Google Analytics. After creating the goal, the Recording button should be toggled so it can track conversions.
2. After this, whenever a user lands on the Confirmation Page it will be counted as a Conversion based on the Goal created. You can see them in two ways:
- On Google Anaylitcs left menu >> Realtime >> Conversions : here you will be able to visualize conversions that are happening in real time
- On Google Anaylitcs left menu >> Conversions >> Goals >> Overview : since this is a more detailed report, the information will take between 24 to 48 hours to be displayed and will be shown among several reports.